
Introduction
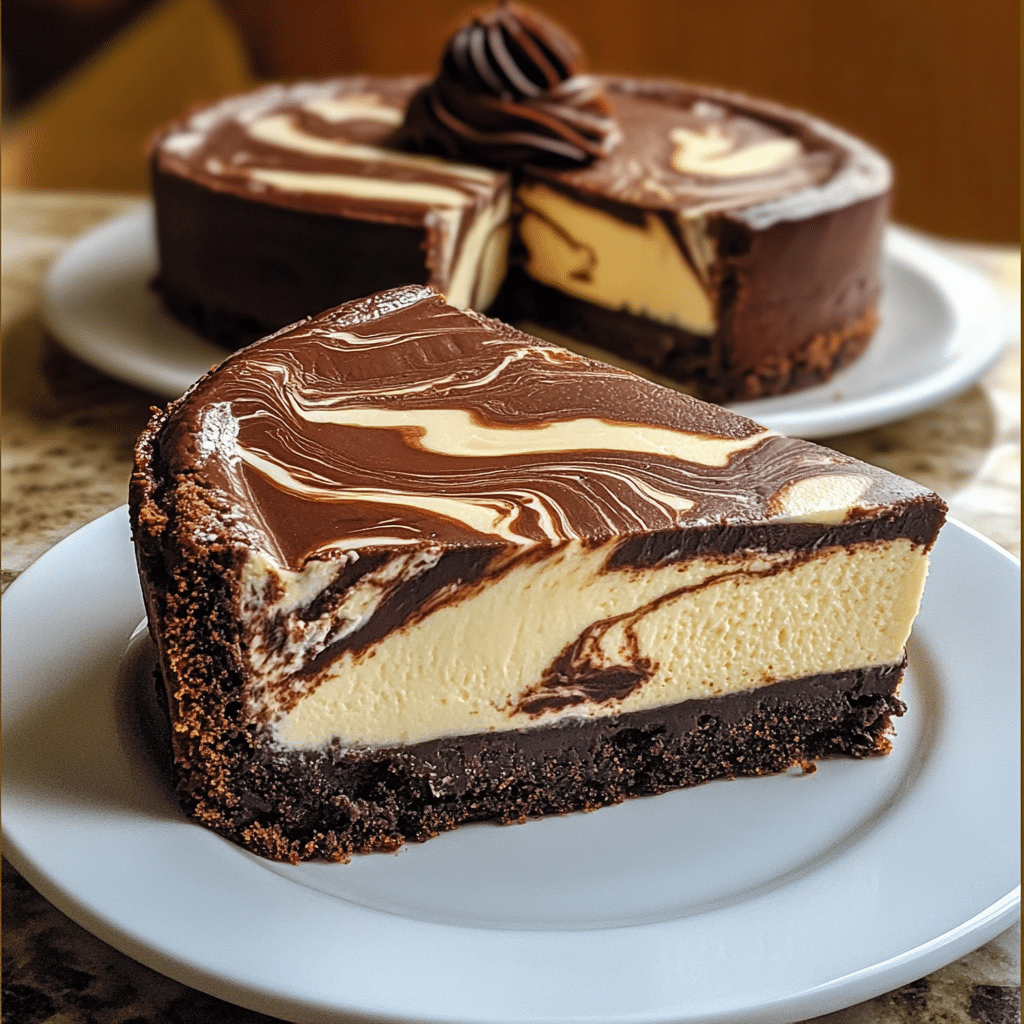
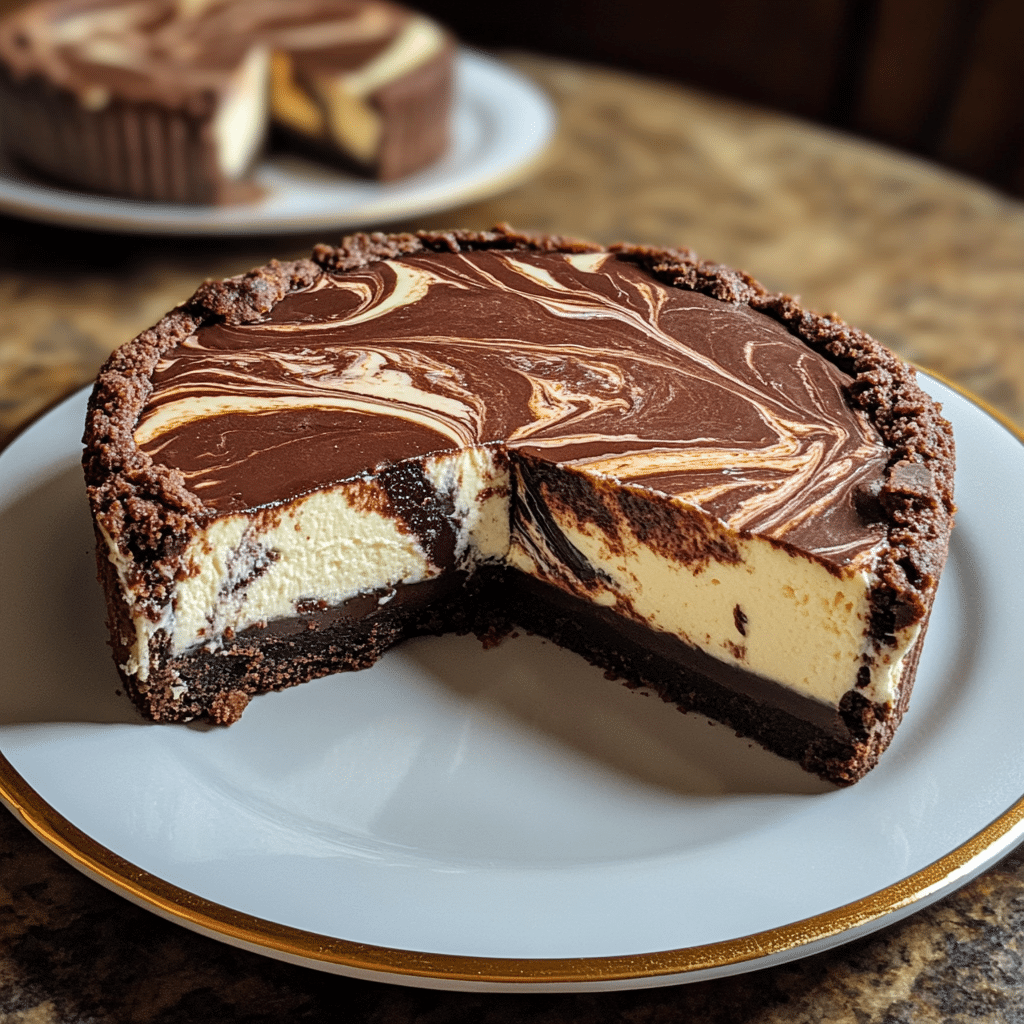
Chocolate Marble Cheesecake is the ultimate indulgence, blending the rich creaminess of classic cheesecake with the irresistible allure of decadent chocolate. The smooth, velvety texture of the cheesecake base is swirled with dark, luscious chocolate, creating a marbled effect that’s as visually stunning as it is delicious. Each bite offers a perfect balance of tangy cream cheese and deep, rich chocolate, making it a dessert that’s both elegant and comforting.
This cheesecake holds a special place in my heart. I first made it for a family celebration, and it was an instant hit. The process of swirling the chocolate into the creamy base is almost therapeutic, and the aroma of baking cheesecake fills the kitchen with a warm, inviting scent. The beauty of the marbled design is almost as satisfying as the first creamy bite, and it’s one of those desserts that always leaves guests in awe.
Chocolate Marble Cheesecake is perfect for any occasion, whether it’s a holiday gathering, a dinner party, or simply a treat for a special evening. It stands on its own as a show-stopping dessert, but it can be elevated even further with a dusting of cocoa powder or a few fresh berries on top. If you want a dessert that combines luxury and comfort, this cheesecake is the one to make!
Perfect for:
- Elegant dinner parties
- Celebratory occasions like birthdays and anniversaries
- Holiday gatherings
- Dessert lovers seeking a rich and creamy treat
Why You’ll Love This Recipe
Chocolate Marble Cheesecake is a dessert you’ll fall in love with for several reasons:
- Visually Stunning: The marbled design is easy to create but looks like a professional masterpiece.
- Rich and Decadent: The combination of cream cheese and chocolate makes every bite indulgent.
- Customizable: Swap out the chocolate for other flavors or add toppings like fresh berries or whipped cream.
- Make-Ahead Dessert: Cheesecake tastes even better the next day, making it perfect for prepping in advance.
- Classic with a Twist: It’s a timeless dessert with an artistic, modern flair.
Preparation and Cooking Time
- Total Time: 6 hours (includes cooling and chilling time)
- Preparation Time: 30 minutes
- Baking Time: 1 hour
- Servings: 12 slices
- Calories per serving: Approximately 450 calories
- Key Nutrients: Protein: 6g, Fat: 30g, Carbs: 40g
Ingredients
Crust
- 2 cups graham cracker crumbs
- 1/3 cup granulated sugar
- 1/2 cup unsalted butter, melted
Cheesecake Filling
- 3 (8-ounce) packages cream cheese, softened
- 1 cup granulated sugar
- 1/4 cup sour cream
- 3 large eggs
- 1 teaspoon pure vanilla extract
Chocolate Swirl
- 6 ounces semisweet chocolate, melted and slightly cooled
Optional Toppings
- Fresh berries (strawberries, raspberries, or blueberries)
- Whipped cream
- Chocolate shavings
Step-by-Step Instructions
Prepare the Crust:
- Preheat the Oven: Preheat your oven to 325°F (163°C). Grease a 9-inch springform pan and wrap the bottom with aluminum foil to prevent leaks.
- Make the Crust Mixture: In a medium bowl, combine graham cracker crumbs, sugar, and melted butter. Mix until the crumbs are evenly coated and resemble wet sand.
- Form the Crust: Press the mixture firmly into the bottom of the prepared pan, using the bottom of a measuring cup to create an even layer. Bake for 10 minutes. Remove from the oven and set aside to cool while preparing the filling.
Make the Cheesecake Filling:
- Beat the Cream Cheese: In a large mixing bowl, beat the softened cream cheese with an electric mixer on medium speed until smooth and creamy, about 2 minutes.
- Add Sugar and Sour Cream: Gradually mix in the sugar and sour cream, beating until fully incorporated and smooth.
- Incorporate Eggs: Add the eggs one at a time, mixing on low speed after each addition to avoid overbeating. Stir in the vanilla extract.
Create the Chocolate Swirl:
- Prepare the Chocolate Mixture: In a small bowl, combine the melted semisweet chocolate with 1 cup of the cheesecake batter. Stir until smooth.
- Layer the Batter: Pour half of the plain cheesecake batter over the cooled crust. Spoon dollops of the chocolate mixture on top, then pour the remaining plain batter over it. Add more chocolate dollops to the top.
- Create the Marble Effect: Using a knife or skewer, gently swirl the chocolate and plain batters together to create a marbled pattern. Be careful not to overmix.
Bake the Cheesecake:
- Set Up a Water Bath: Place the springform pan in a larger roasting pan. Fill the roasting pan with hot water until it reaches halfway up the sides of the springform pan. This prevents cracks by maintaining even moisture and heat.
- Bake: Carefully transfer the pan to the oven and bake for 55-65 minutes, or until the edges are set and the center jiggles slightly when shaken.
Cool and Chill:
- Cool Gradually: Turn off the oven and crack the door open slightly. Allow the cheesecake to cool in the oven for 1 hour to prevent sudden temperature changes.
- Chill: Remove from the oven and cool to room temperature. Cover and refrigerate for at least 4 hours or overnight for the best results.
Serve:
- Unmold the Cheesecake: Run a knife around the edges of the pan before releasing the springform. Slice and serve with your choice of toppings.
How to Serve
Chocolate Marble Cheesecake is versatile and can be served in a variety of ways to suit any occasion:
- Classic Style: Serve plain to showcase the stunning marbled design.
- With Fresh Berries: Top with strawberries, raspberries, or blueberries for a fresh, tangy contrast to the rich cheesecake.
- Drizzle with Chocolate Sauce: Enhance the chocolate flavor with an extra drizzle of melted chocolate or chocolate ganache.
- Add Whipped Cream: A dollop of whipped cream adds a light, airy touch to balance the creaminess.
- For Celebrations: Garnish with sprinkles, edible flowers, or sparklers for a festive presentation.
Additional Tips
- Room Temperature Ingredients: Ensure the cream cheese, eggs, and sour cream are at room temperature for a smooth, lump-free batter.
- Avoid Overmixing: Mix the batter on low speed to prevent incorporating excess air, which can cause cracks.
- Use a Water Bath: The water bath helps prevent cracks and ensures even baking.
- Check for Doneness: The center should jiggle slightly but not appear wet or liquid.
- Chill for Best Flavor: Cheesecake tastes best after chilling, as the flavors meld together.
Recipe Variations
Explore these 10 Variations to customize your Chocolate Marble Cheesecake:
- White Chocolate Swirl: Use melted white chocolate instead of semisweet for a sweeter twist.
- Espresso Marble Cheesecake: Add 1 tablespoon of instant espresso powder to the chocolate batter for a mocha flavor.
- Caramel Drizzle: Swirl caramel sauce into the batter for a caramel-chocolate marble effect.
- Nutty Delight: Add crushed hazelnuts, pecans, or almonds to the crust for extra crunch.
- Oreo Cheesecake: Replace the graham cracker crust with crushed Oreos.
- Mint Chocolate Cheesecake: Add a few drops of peppermint extract to the chocolate batter for a refreshing flavor.
- Berry Swirl: Replace the chocolate swirl with pureed raspberries or strawberries.
- Gluten-Free Version: Use gluten-free cookies for the crust.
- Mini Cheesecakes: Divide the batter into cupcake liners for individual servings.
- Vegan Option: Use plant-based cream cheese, a flax egg substitute, and dairy-free chocolate for a vegan version.
Freezing and Storage
- Freezing: Wrap the cooled cheesecake tightly in plastic wrap and foil. Freeze for up to 3 months. Thaw overnight in the refrigerator before serving.
- Storage: Store leftover cheesecake in an airtight container in the refrigerator for up to 5 days.
Special Equipment
To make the perfect Chocolate Marble Cheesecake, you may need:
- 9-Inch Springform Pan: Essential for easily unmolding the cheesecake.
- Electric Mixer: For a smooth and creamy batter.
- Large Roasting Pan: To set up the water bath.
- Offset Spatula: Helps smooth the top layer of batter.
- Whisk: Useful for mixing the chocolate batter.
- Measuring Cups and Spoons: Ensures precise ingredient measurements.
- Heatproof Bowl: For melting chocolate.
- Knife or Skewer: For creating the marble effect.
- Cooling Rack: For even cooling after baking.
- Plastic Wrap: To store the cheesecake and maintain freshness.
FAQ Section
- Can I use a different crust? Yes, try a chocolate cookie crust or nut-based crust for a different flavor.
- What type of chocolate is best? Use good-quality semisweet chocolate for a balanced flavor, or opt for bittersweet for a richer taste.
- Why did my cheesecake crack? Cracks often occur due to overbaking, rapid temperature changes, or skipping the water bath.
- Can I make this without a springform pan? While a springform pan is ideal, you can use a deep pie dish or cake pan with parchment lining.
- Can I skip the sour cream? Substitute sour cream with Greek yogurt for a similar tangy flavor.
- How do I know if the cheesecake is done? The edges should be set, and the center should have a slight jiggle.
- Can I use dark chocolate instead? Absolutely! Dark chocolate adds a deeper, more intense flavor.
- What’s the best way to slice cheesecake? Use a sharp knife dipped in hot water and wiped clean between cuts for neat slices.
- Is it okay to skip the water bath? While you can skip it, a water bath significantly reduces the risk of cracks.
- Can I add toppings after freezing? Yes, add fresh toppings like berries or whipped cream just before serving for the best texture.
Conclusion
Chocolate Marble Cheesecake is the ultimate dessert for those who crave a combination of decadence and artistry. The rich, velvety texture of the cheesecake is beautifully complemented by the swirling ribbons of chocolate, creating a striking visual appeal and a flavor profile that’s both indulgent and harmonious.
What truly sets this cheesecake apart is its versatility and sophistication. Whether you’re celebrating a special occasion or simply treating yourself to a luxurious dessert, it’s guaranteed to impress. Serve it as is for a timeless classic, or elevate it with whipped cream, fresh berries, or a drizzle of ganache for an extra touch of elegance.
Perfect for dinner parties, birthdays, or a cozy night in, Chocolate Marble Cheesecake is a dessert that promises to delight every palate. I’m so excited for you to enjoy this masterpiece—don’t forget to share your photos and tag me on social media! I can’t wait to see how you make this stunning dessert your own. Savor every delectable bite!